
15 essential tips to start shoemaking
Crafting your own sneakers can be an incredibly rewarding experience, but it requires attention to detail and the right techniques. In this blog post, we share essential shoemaking tips that will help you create high-quality, custom sneakers. From storing adhesives properly to comparing shoes during the lasting process, these expert insights will guide you through each step. Whether you're a beginner or a seasoned shoemaker, these tips are designed to enhance your skills and ensure your projects are a success. Dive in and discover how to elevate your shoemaking game with our practical advice.
1. Use the Right Leather Scissors: A special pair of leather scissors is crucial for cutting leather accurately. Make sure to choose scissors that match your dominant hand—right-handed or left-handed. The right tools make all the difference in achieving clean, precise cuts.
2. Consistency with Lasts and Patterns: Using the same lasts and patterns ensures consistency in your designs. Our lasts and patterns are perfectly matched for optimal results. Interested in getting these essential tools? Contact us directly or fill out this short survey to specify your desired models and sizes. We’ll get back to you with tailored recommendations.
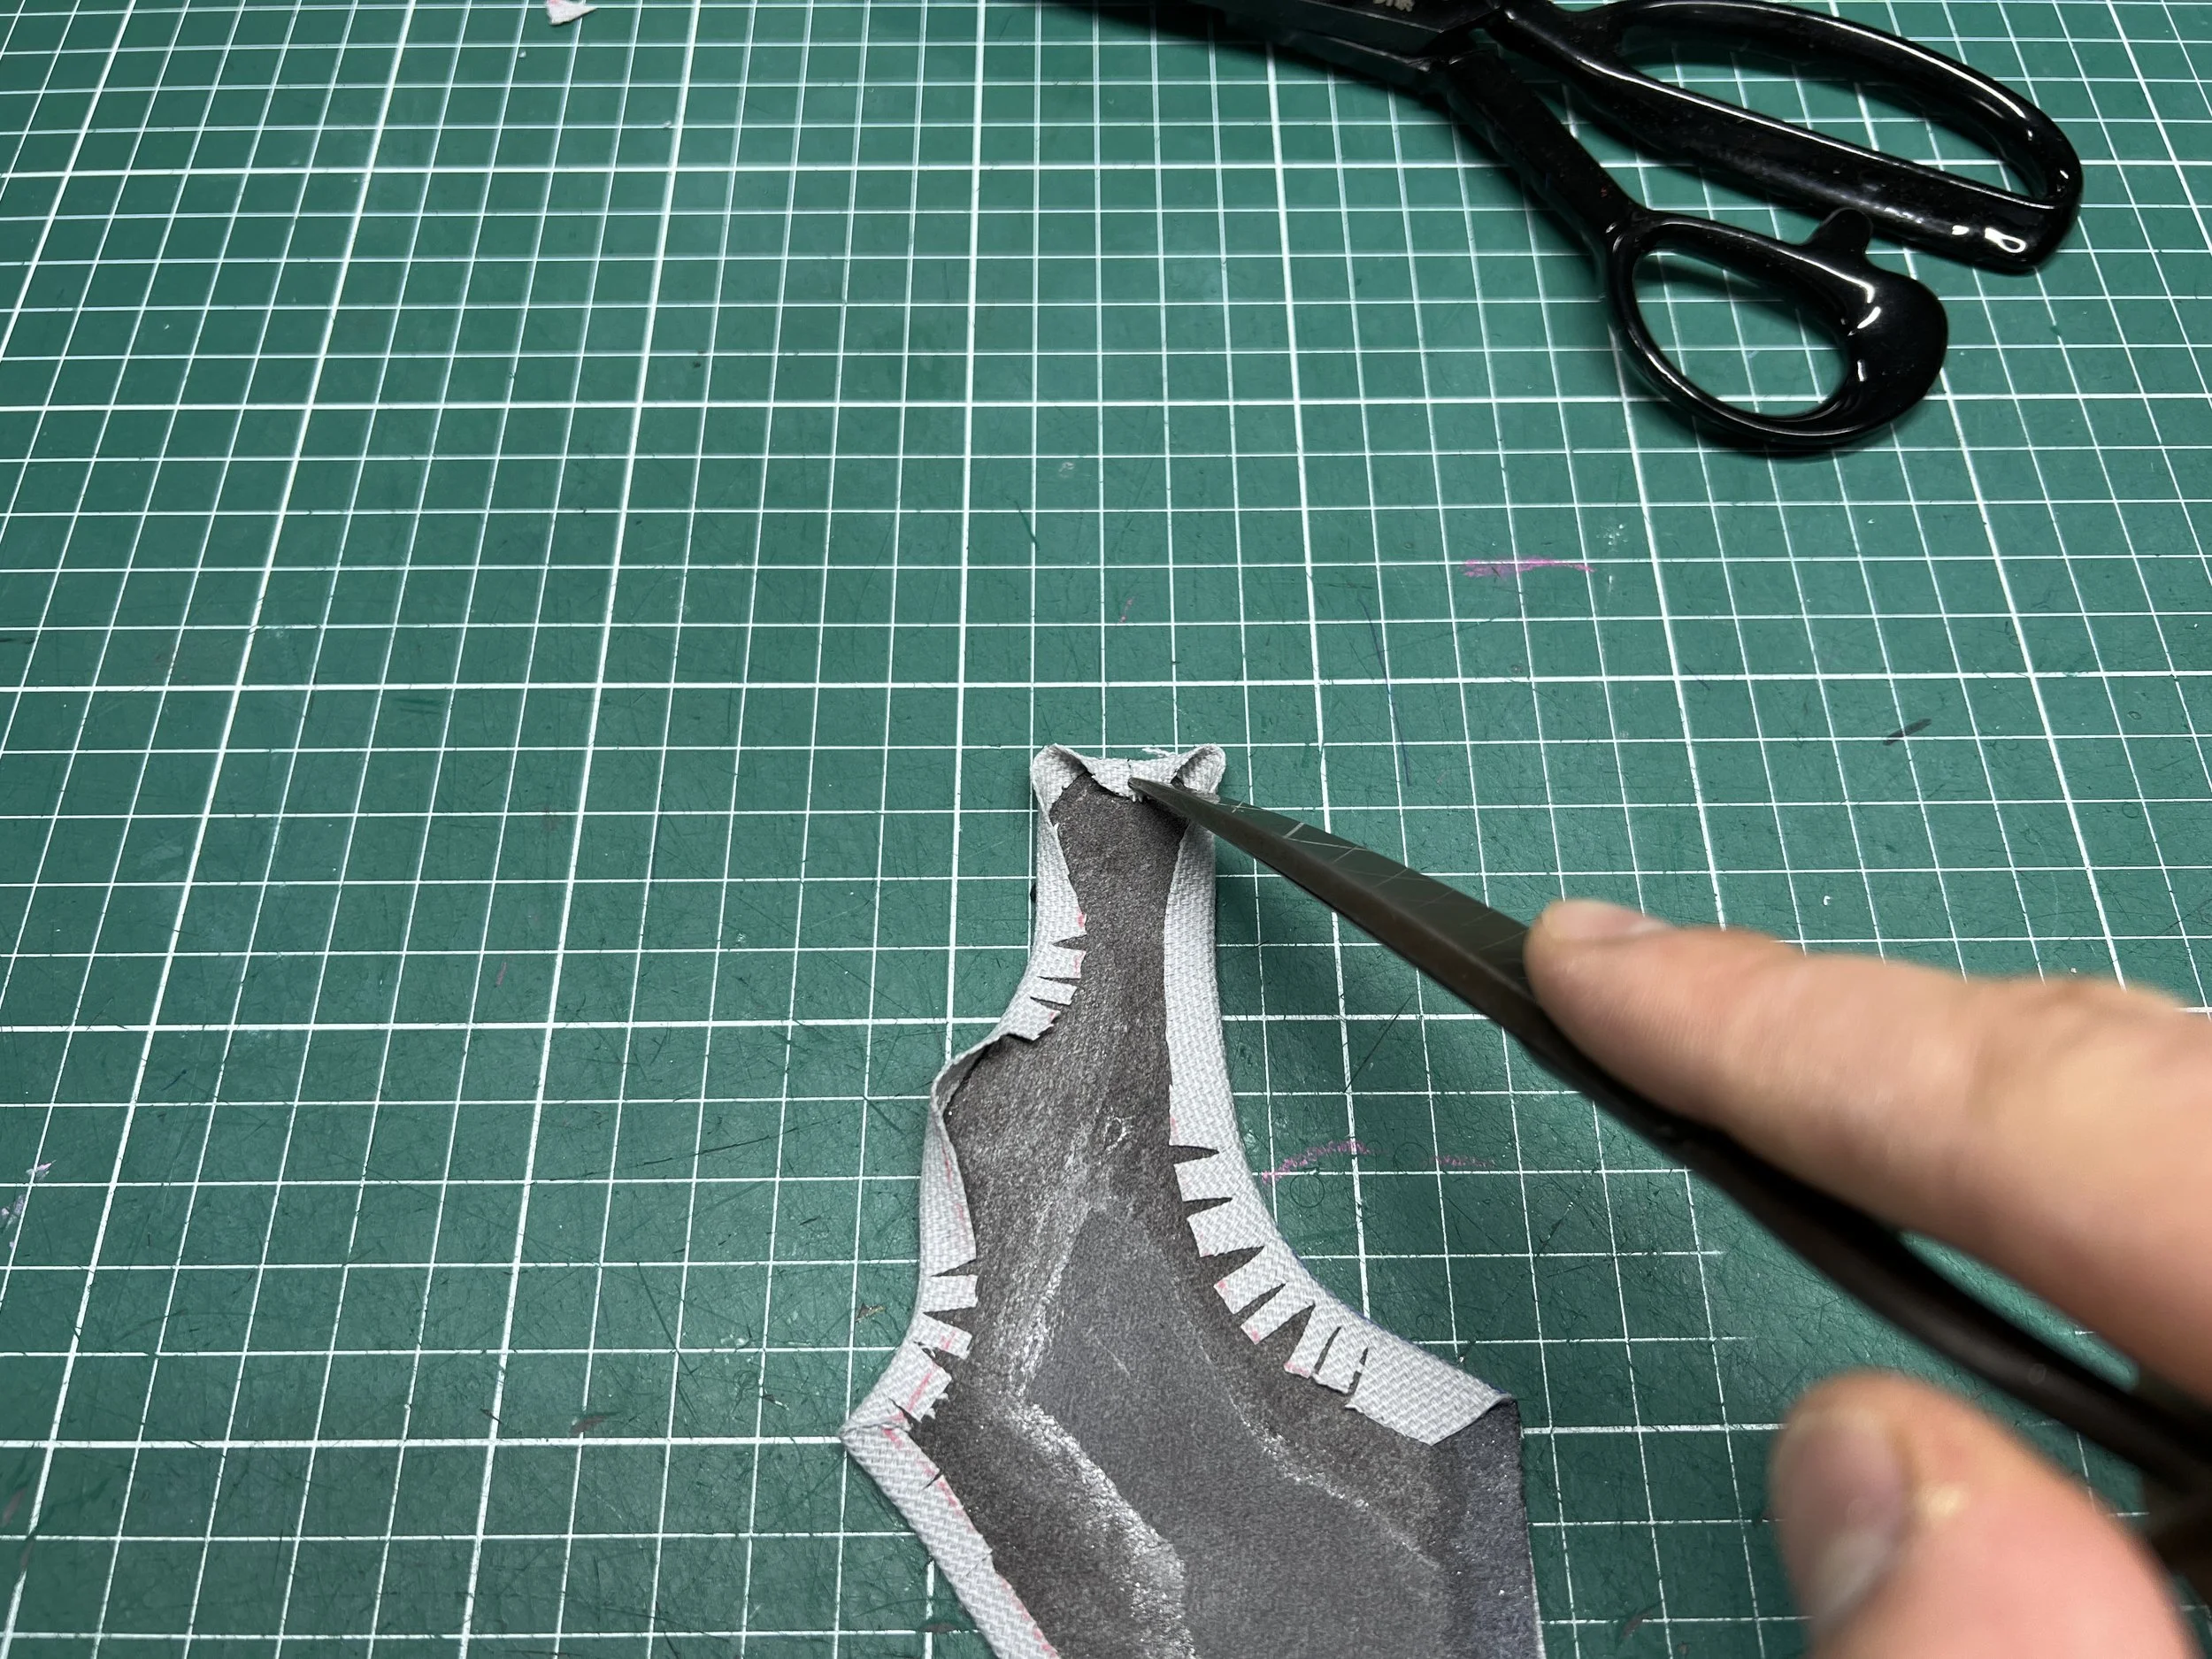
3. Practice Skiving on Test Pieces: Skiving, or thinning the edges of leather, is a delicate process. We recommend practicing on test pieces first to get a feel for your machine or tool. This helps you understand the adjustments needed and prevents mistakes on your final product.

Difference in skived material (left) and not skived (right).
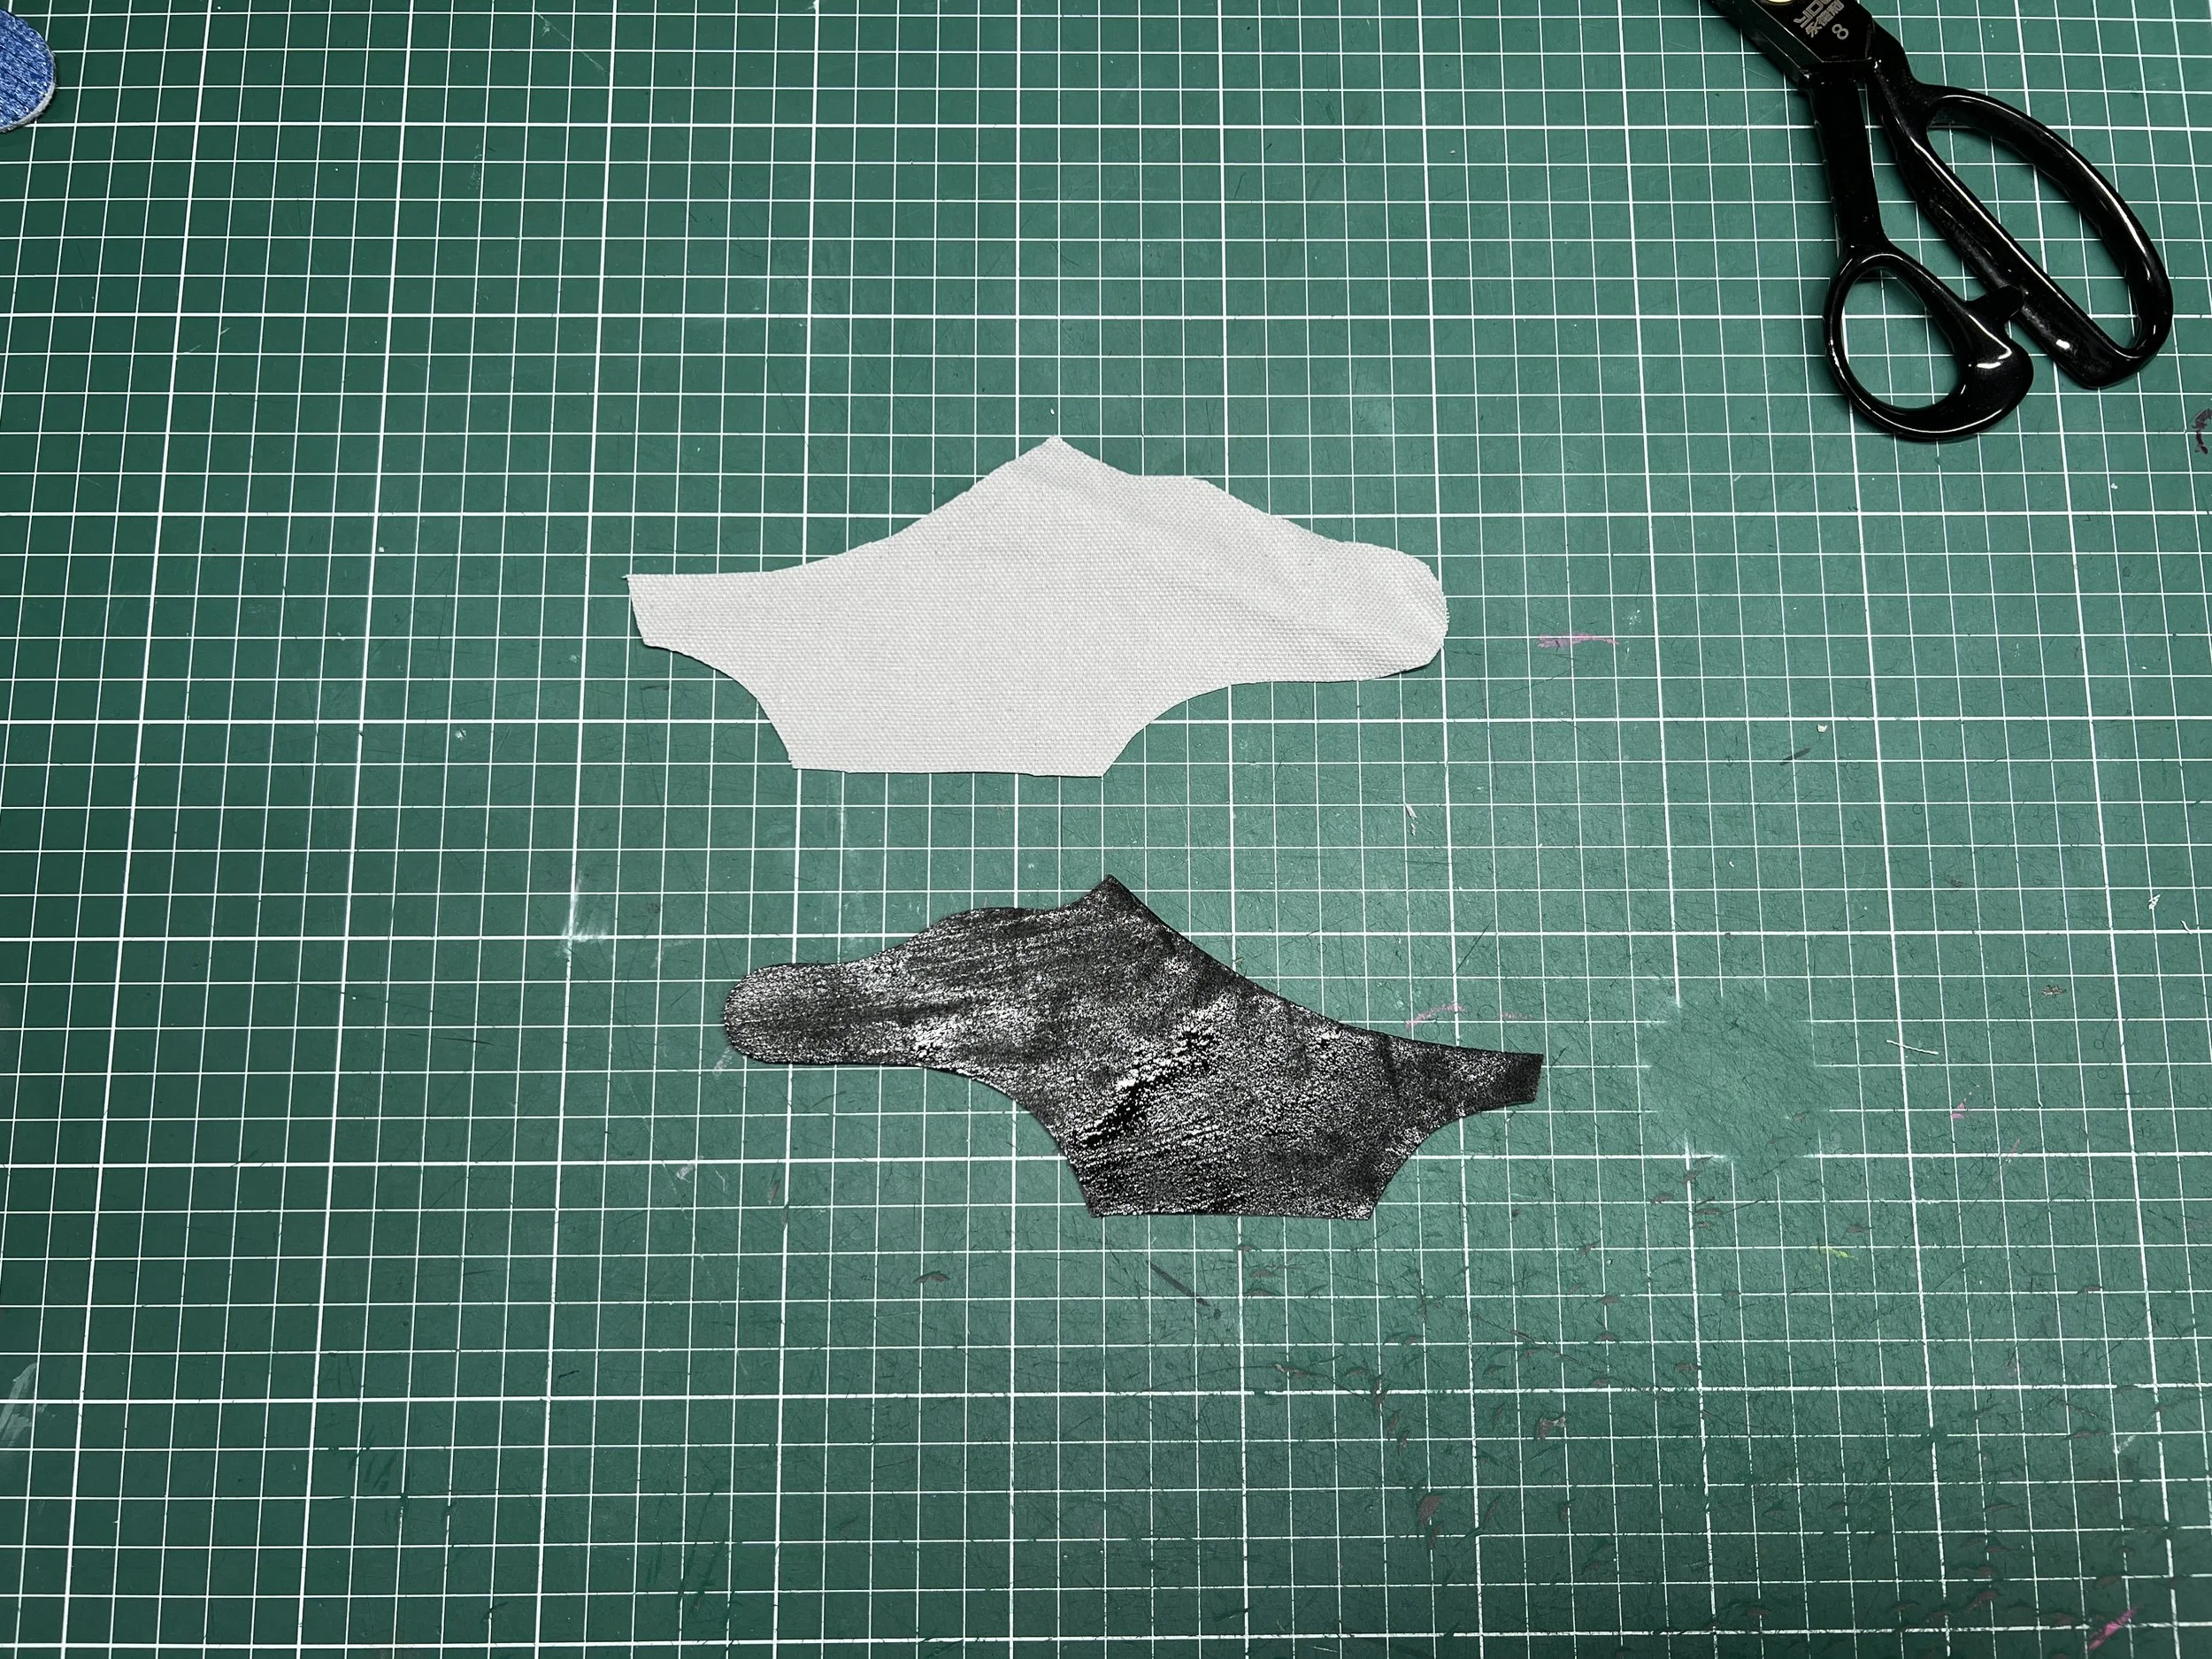
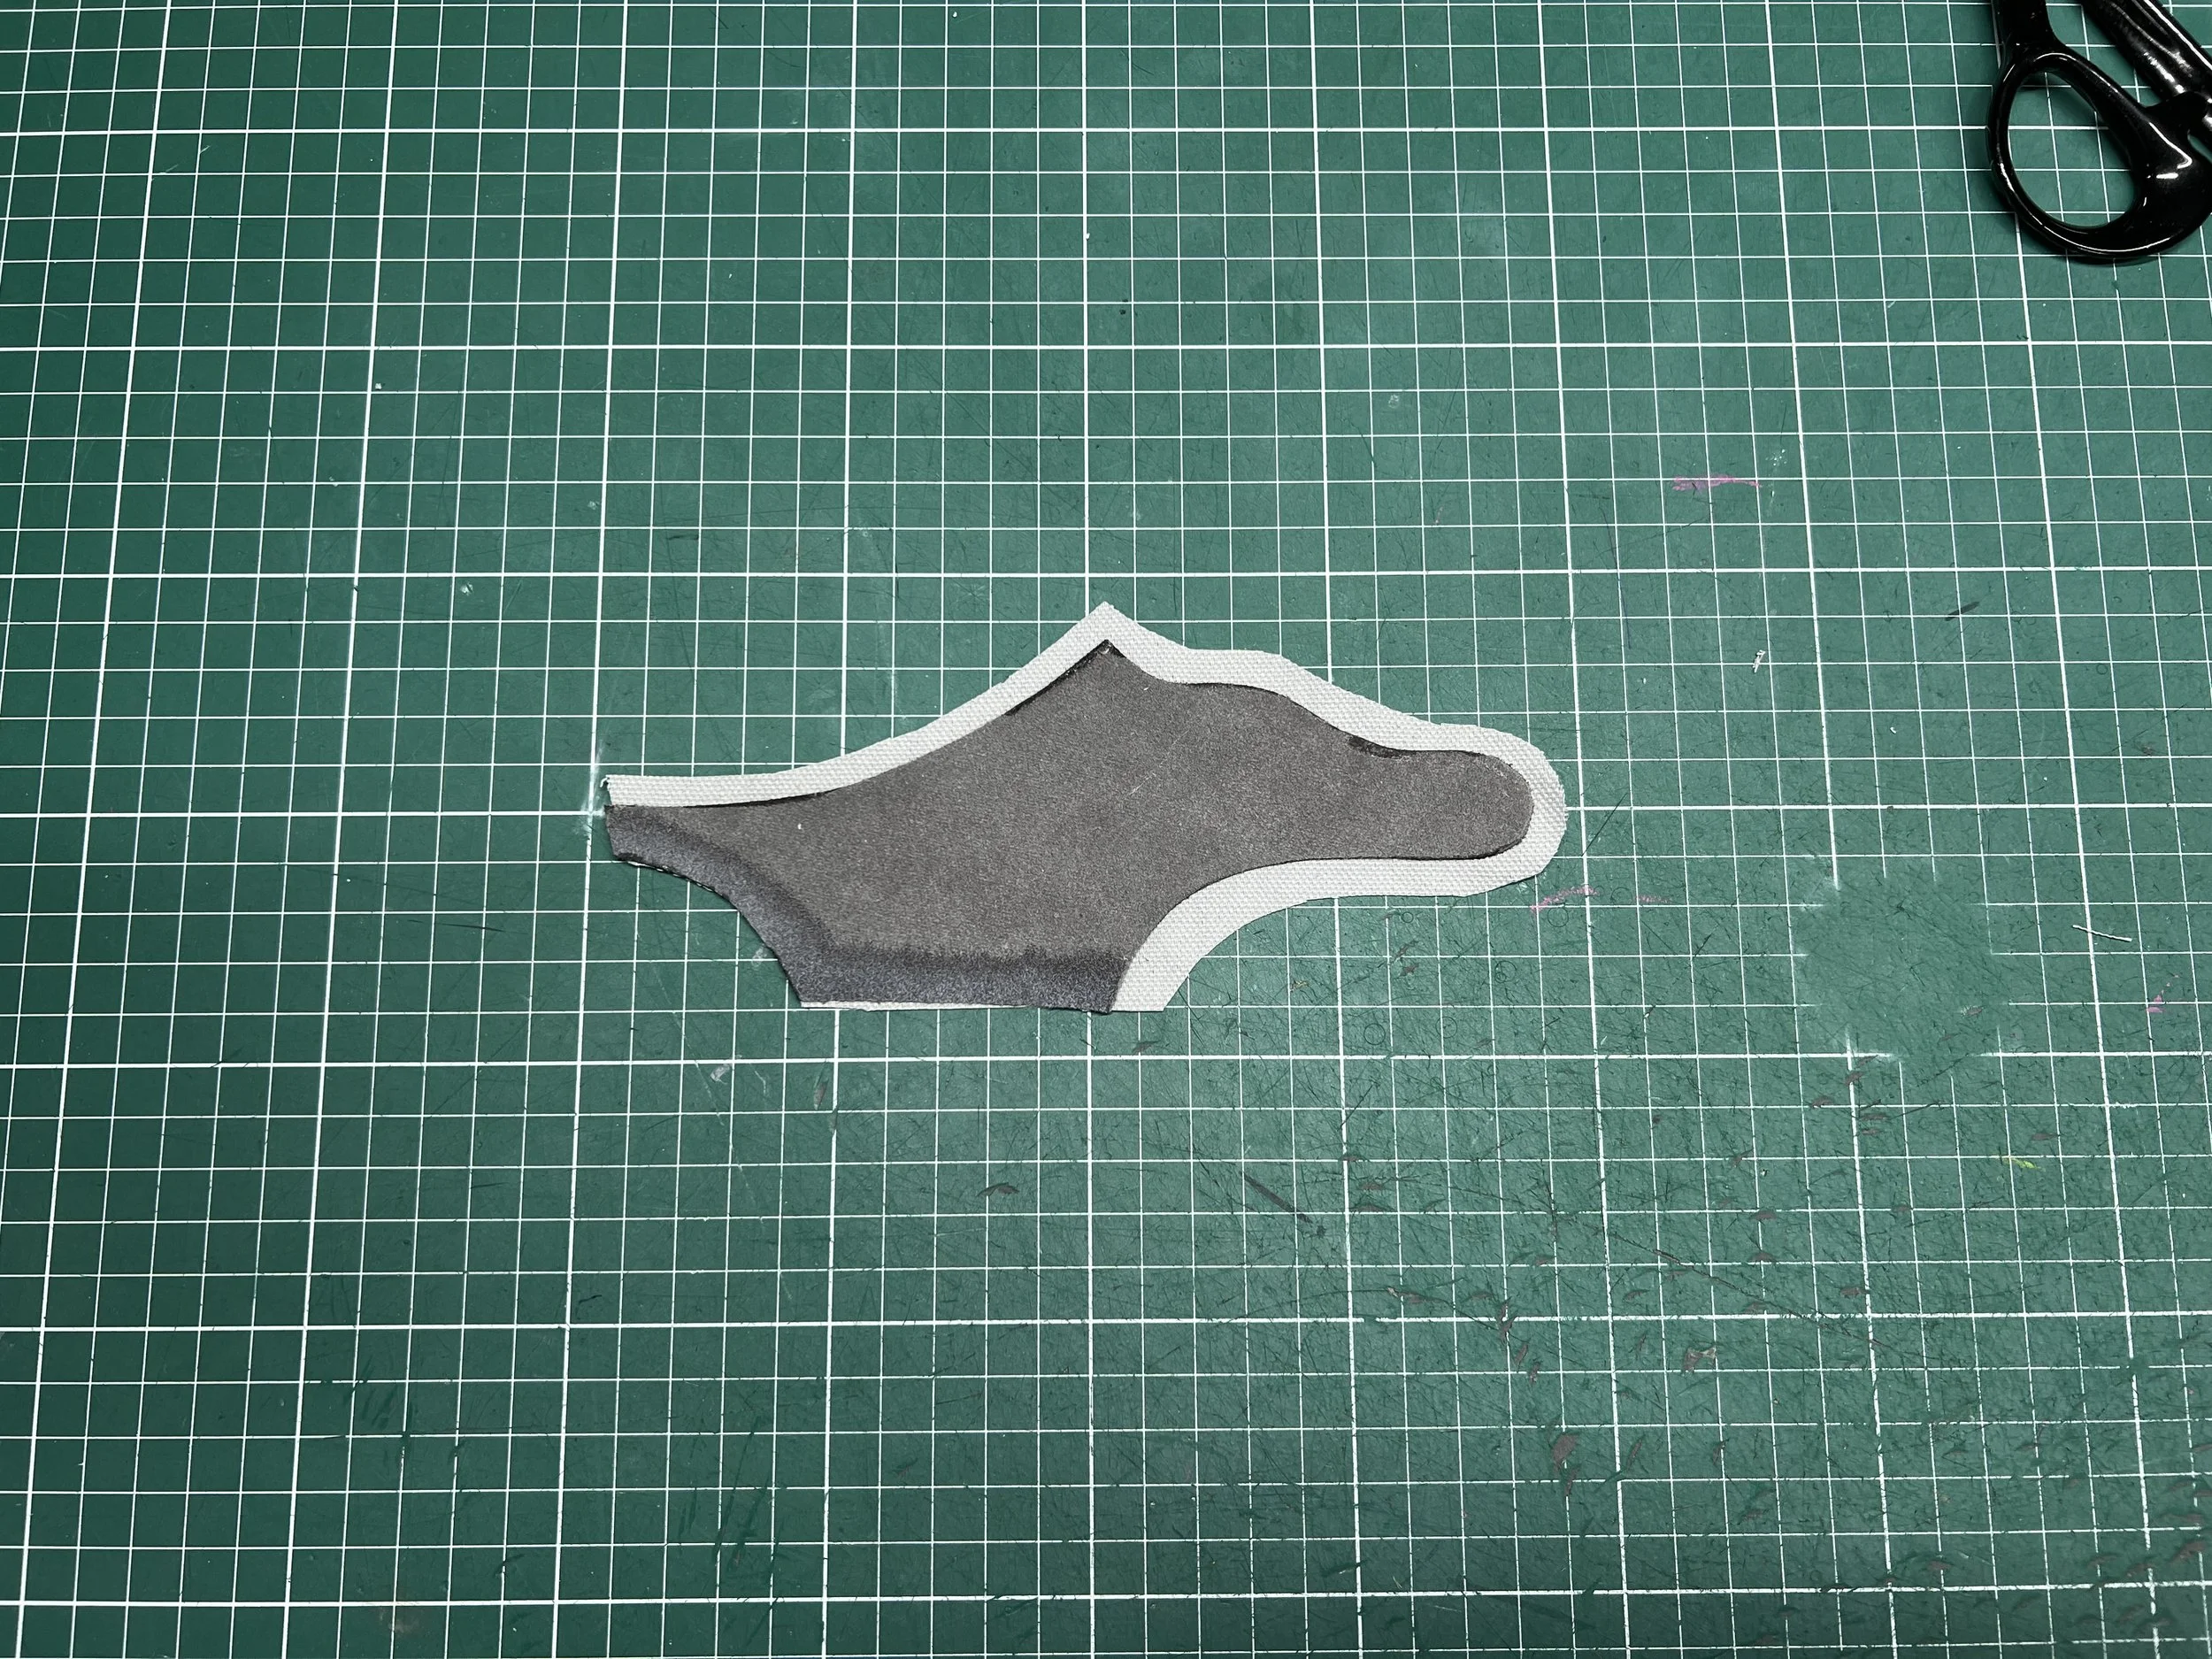
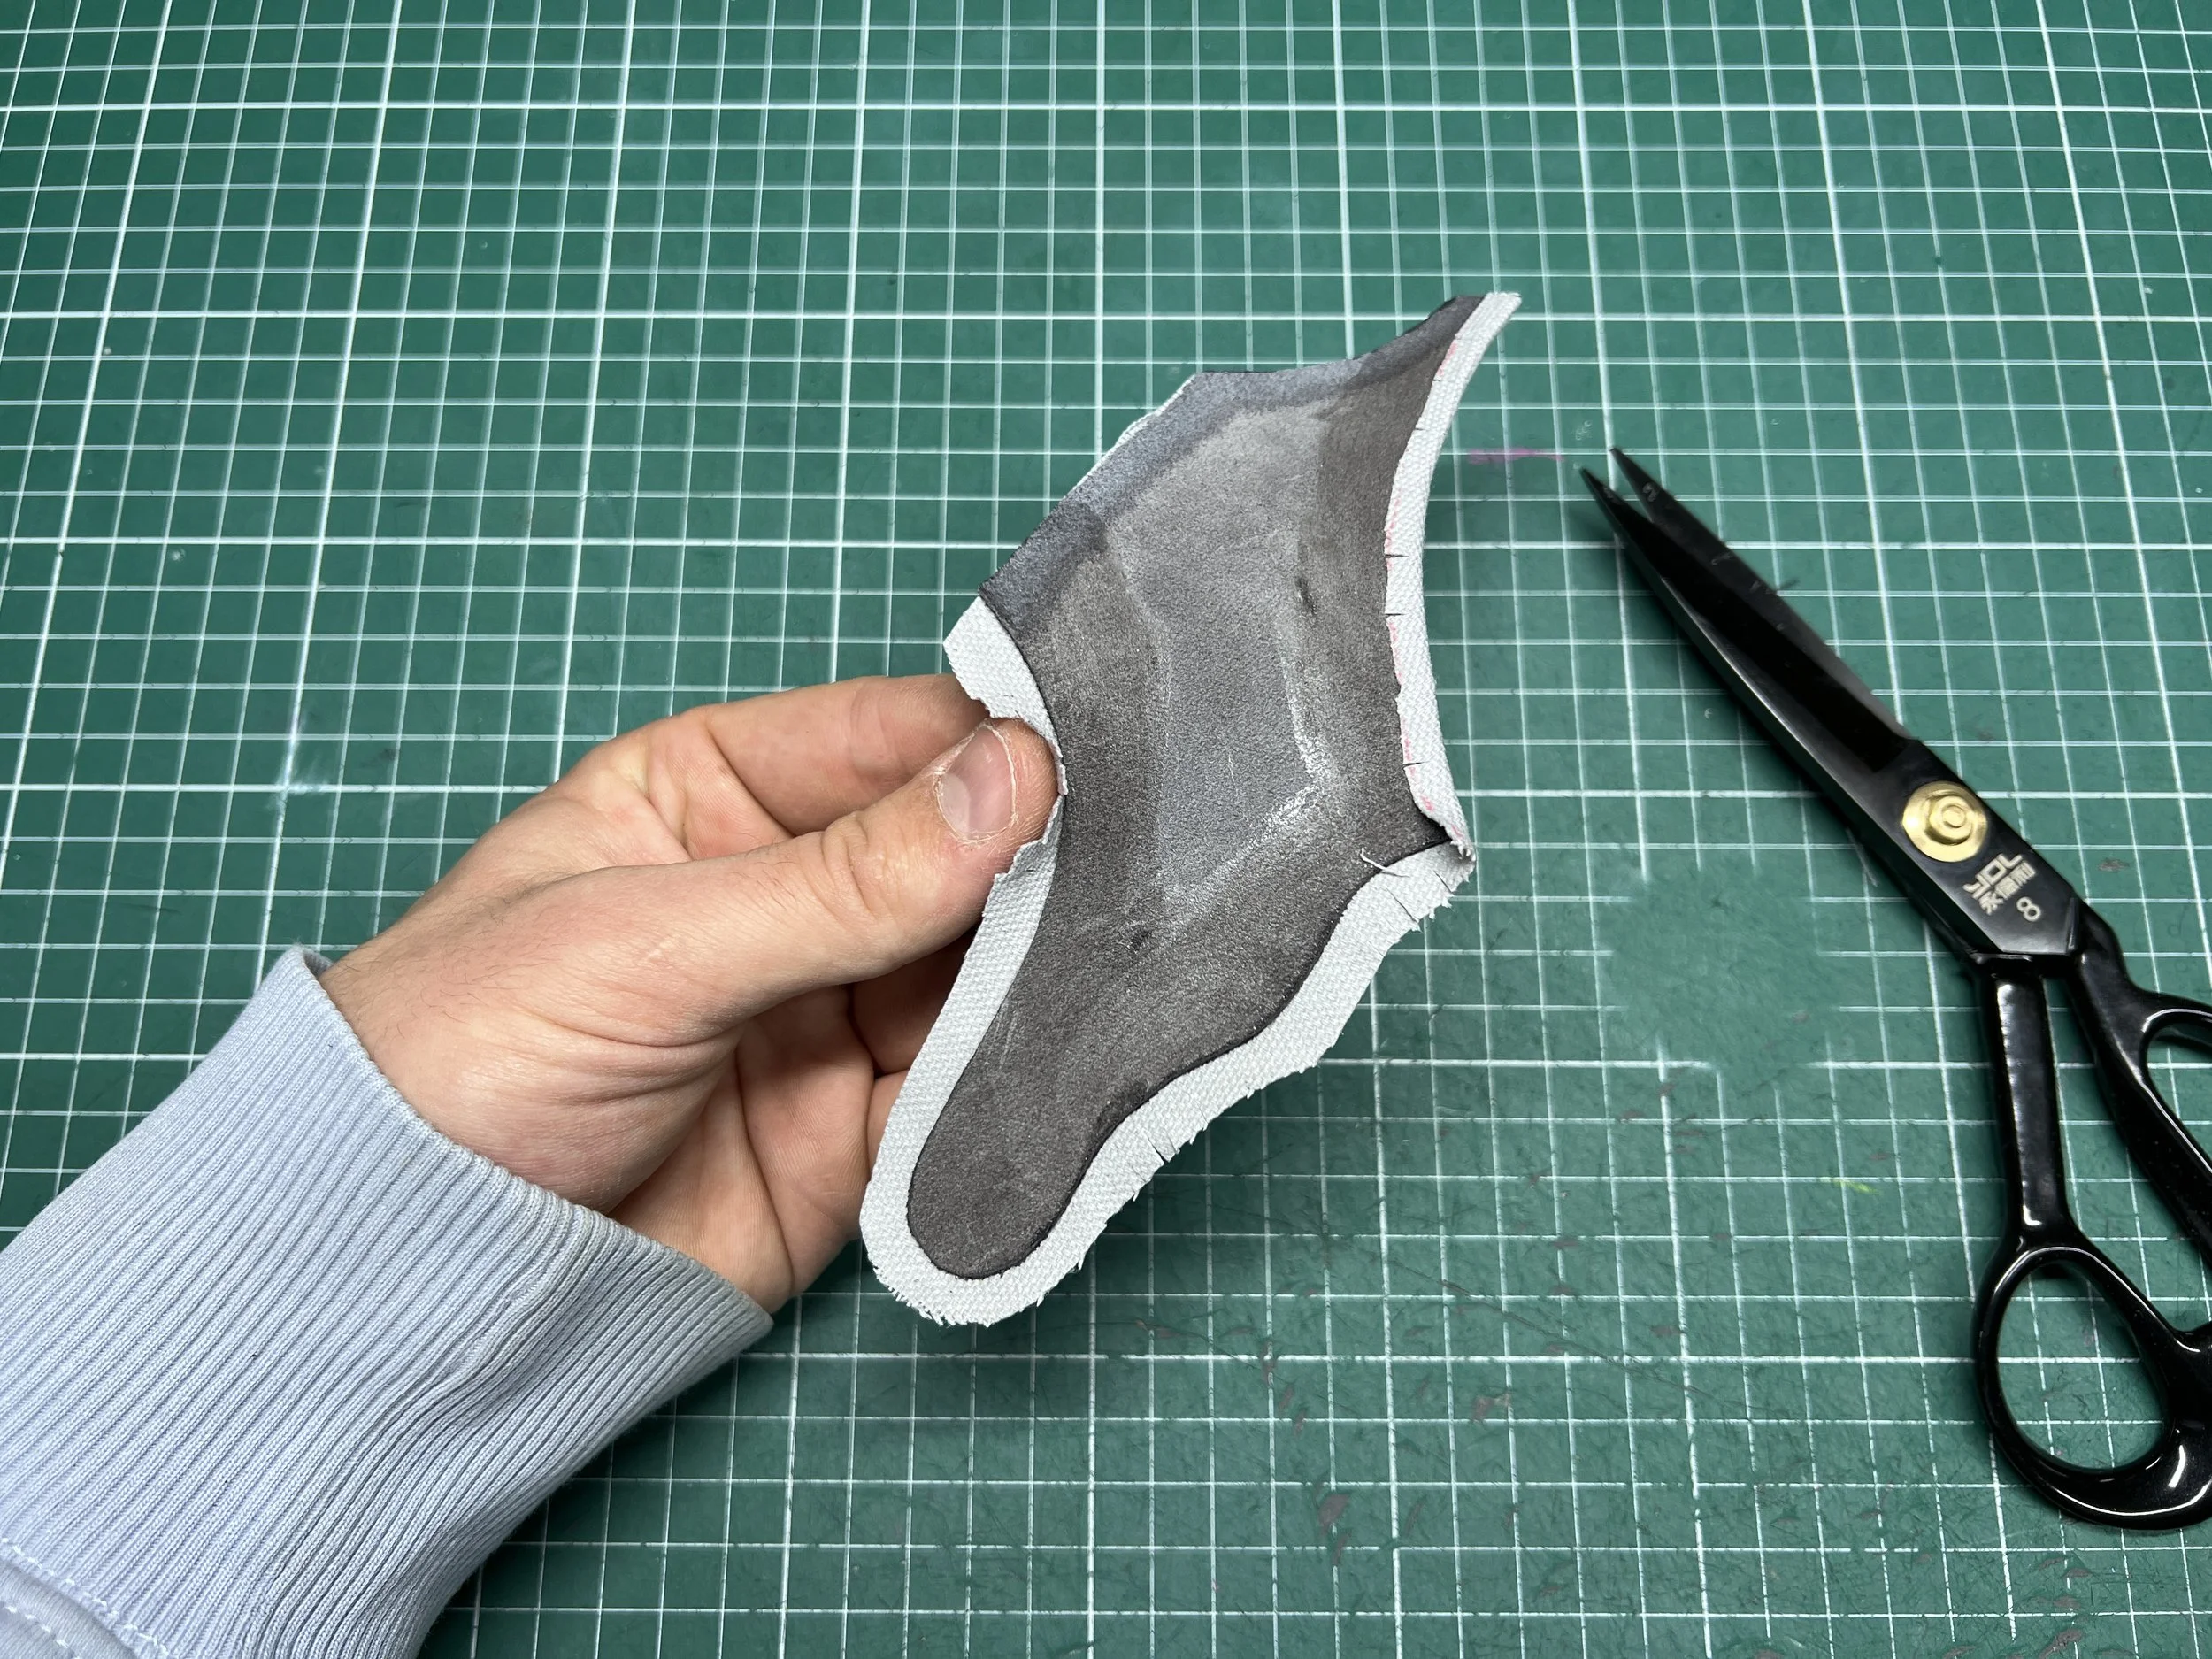
4. Reinforce Thin Materials with Suede for Better Adhesion: When reinforcing corduroy or other thin materials, we recommend using suede. Glue can be absorbed well by suede so that it adheres better to the fabric to be reinforced. With ''ordinary'' leather (leather with the skin layer still on it), the glue will not soak in and, therefore, will not give any adhesion.

5. Perfect Your Stitches with Practice on Leather Scrap: Practice with the machine before you start stitching your sneakers. We recommend drawing different shapes with a pen on leftover pieces of leather that you can then sew with the sewing machine. Then try to stitch parallel to create a ''double stitch''.

6. Store Adhesives Properly:
When using PU, rubber cement, and Ortec adhesives, store them in suitable jars. These sealants are aggressive and will slowly dissolve the plastic containers they are stored in.
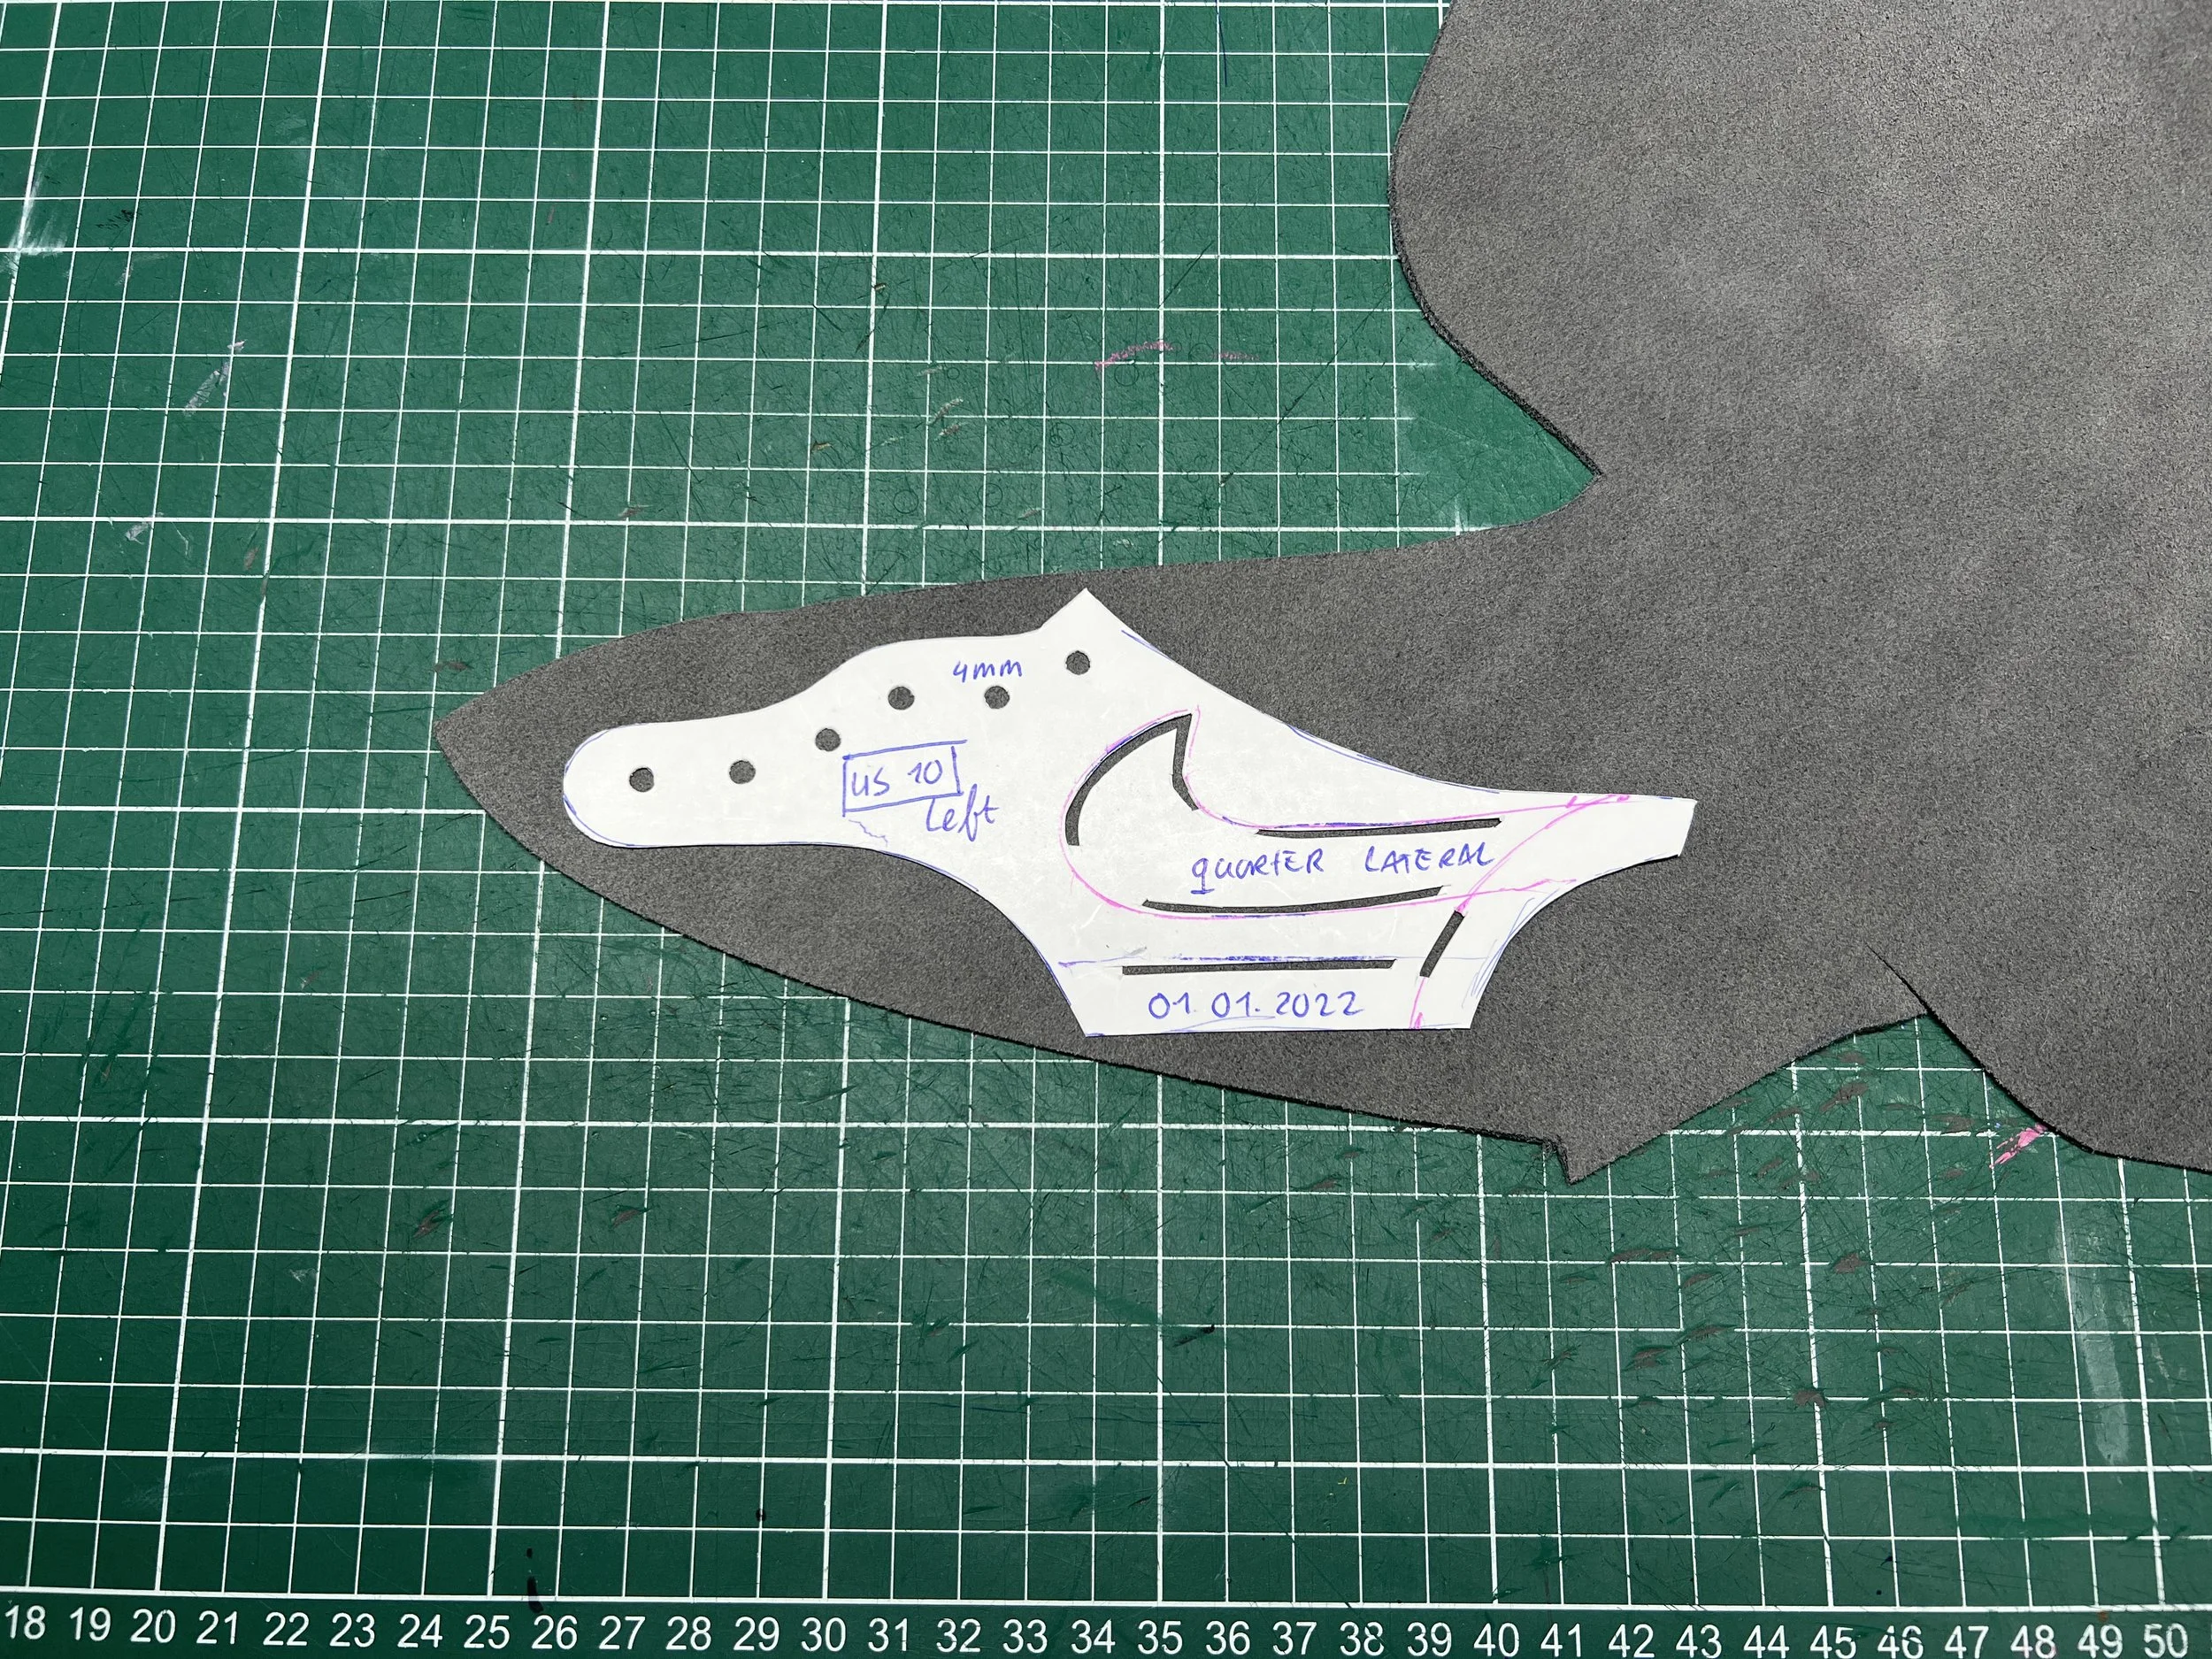
7. Label Left and Right Patterns:
Always indicate whether you are dealing with the left or right pattern of the shoe. Some patterns are similar and can cause confusion. We recommend marking the patterns with a small "R" or "L" at the bottom using a removable pen.
8. Keep Your Workspace Organized:
Try to structure your working method. You will be dealing with many patterns. Sort them and keep your workspace clear.
9. Align Patterns Correctly:
When placing one pattern on top of another, align it on the marking line. If done correctly, the marking line will no longer be visible. Improper alignment can affect the fit and shape of the shoe.
10. Use Double-Sided Tape for Mudguard Patterns:
If you have trouble stitching the mudguard patterns together, use double-sided tape to keep them from sliding apart during stitching. After stitching, ensure the mudguard runs smoothly, and trim if necessary.
11. Pay Attention to Stretch Direction:
This is a challenging part of shoemaking as several facets come together. Remember to pay attention to the direction of stretch when cutting out the heel liner. The direction of stretch is crucial for stitching the lining parallel to the collar.
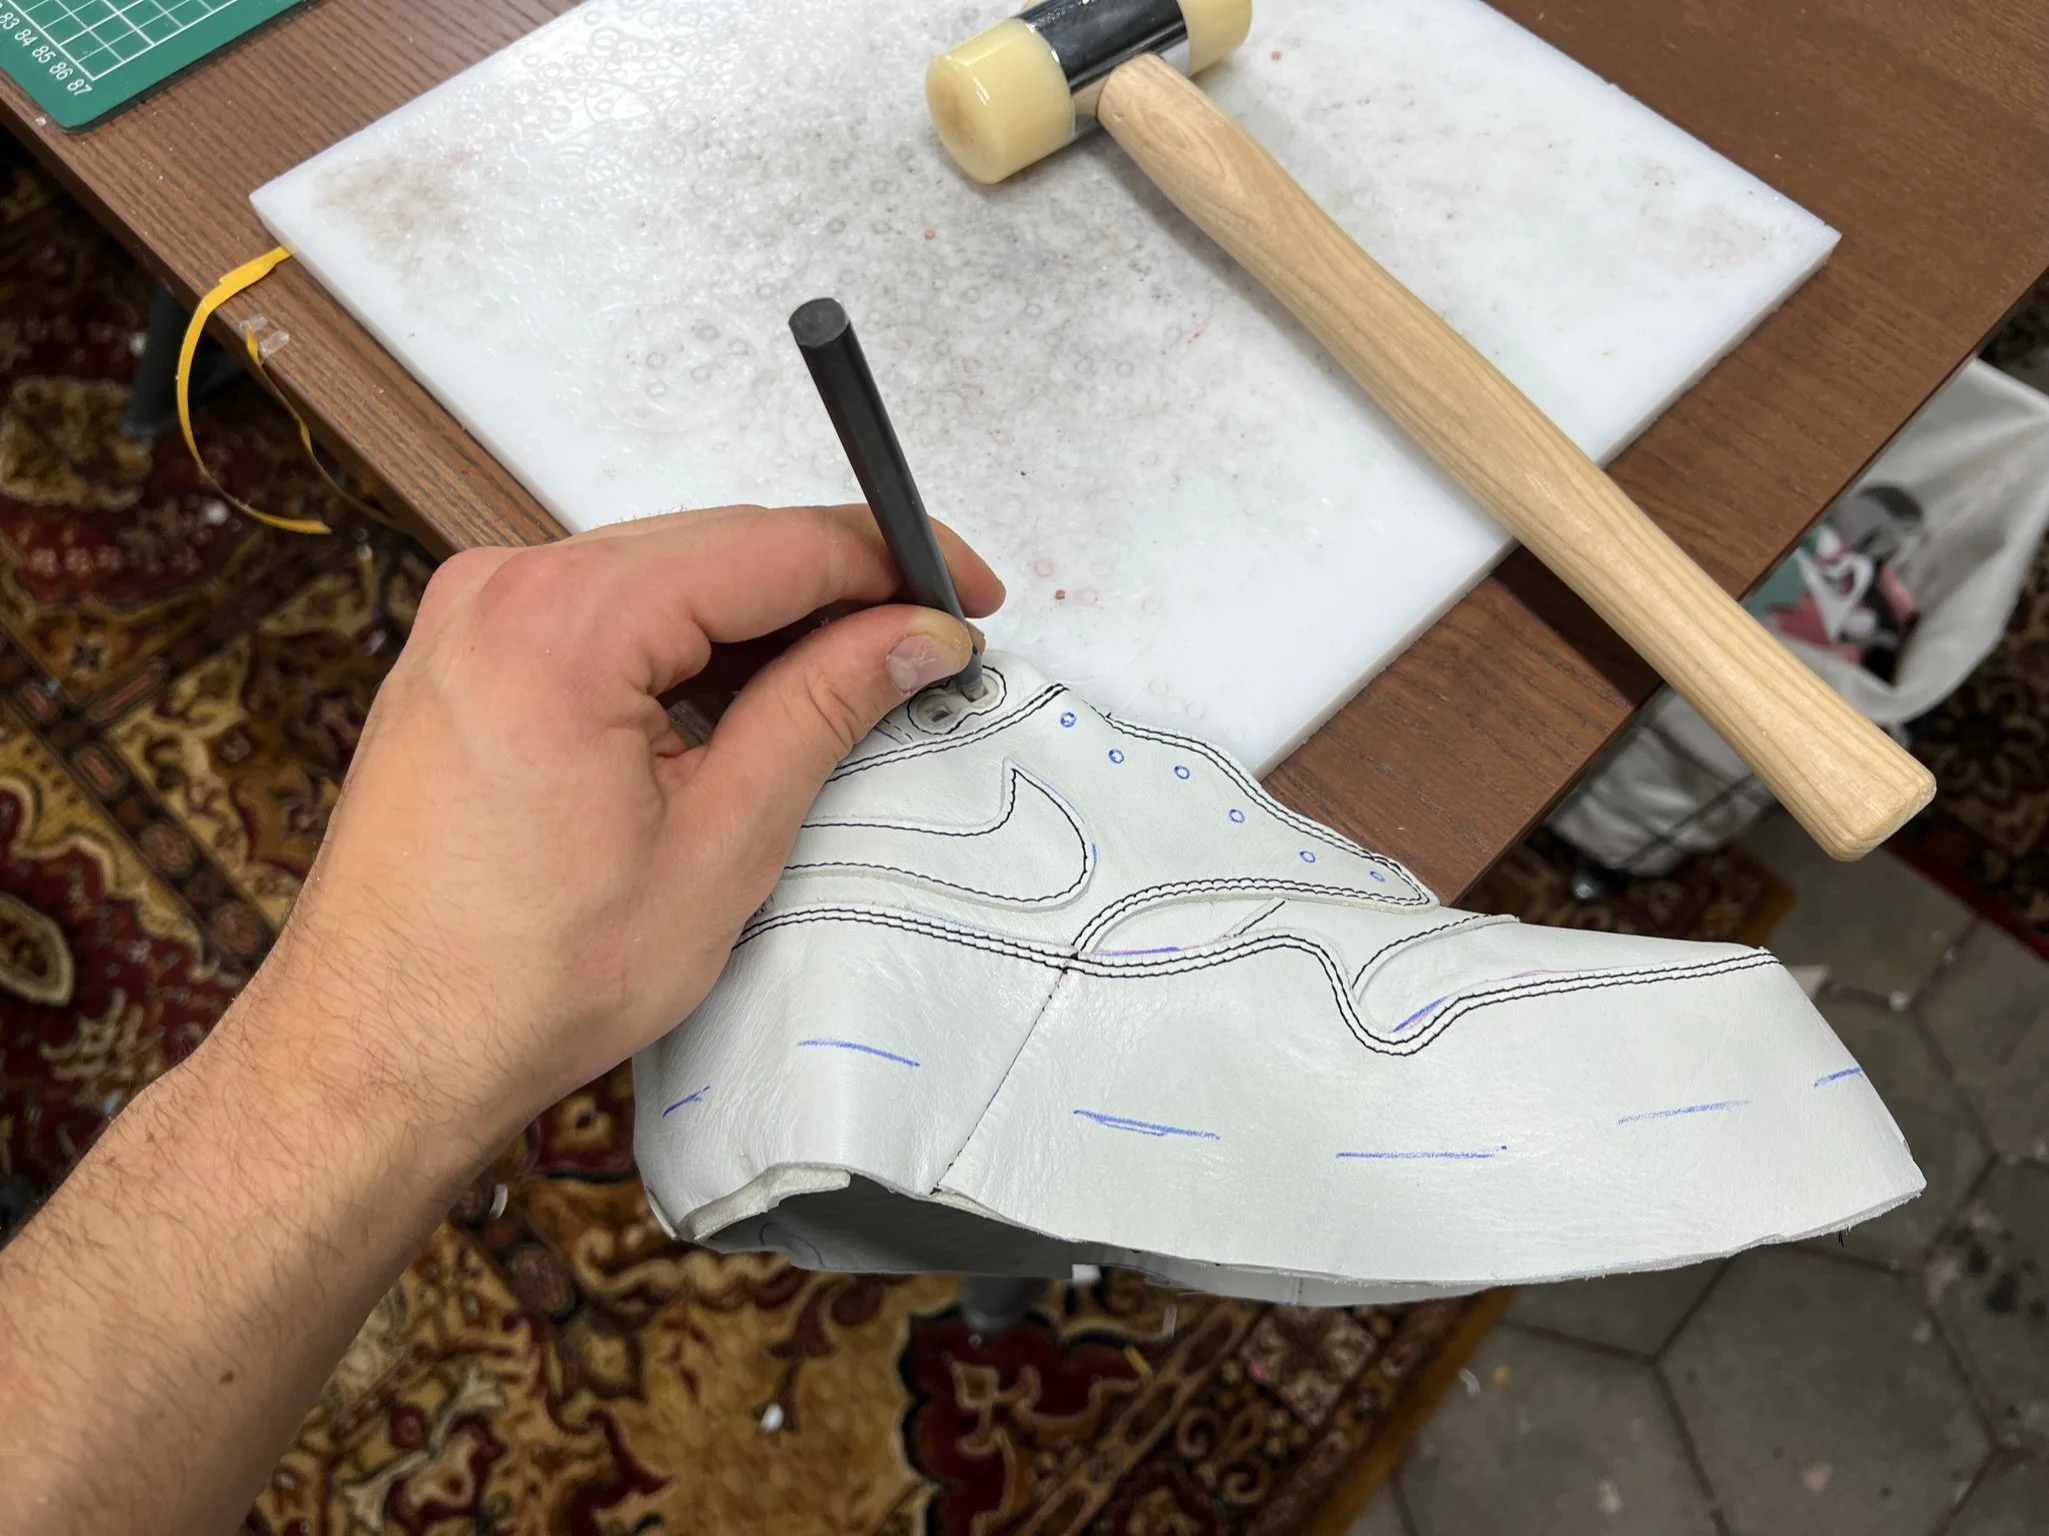
12. Use a Corner for Hole Punching:
When punching out holes, try standing at the table's corner. This position allows you to handle the 3D form of the shoe more easily without folding it in half.
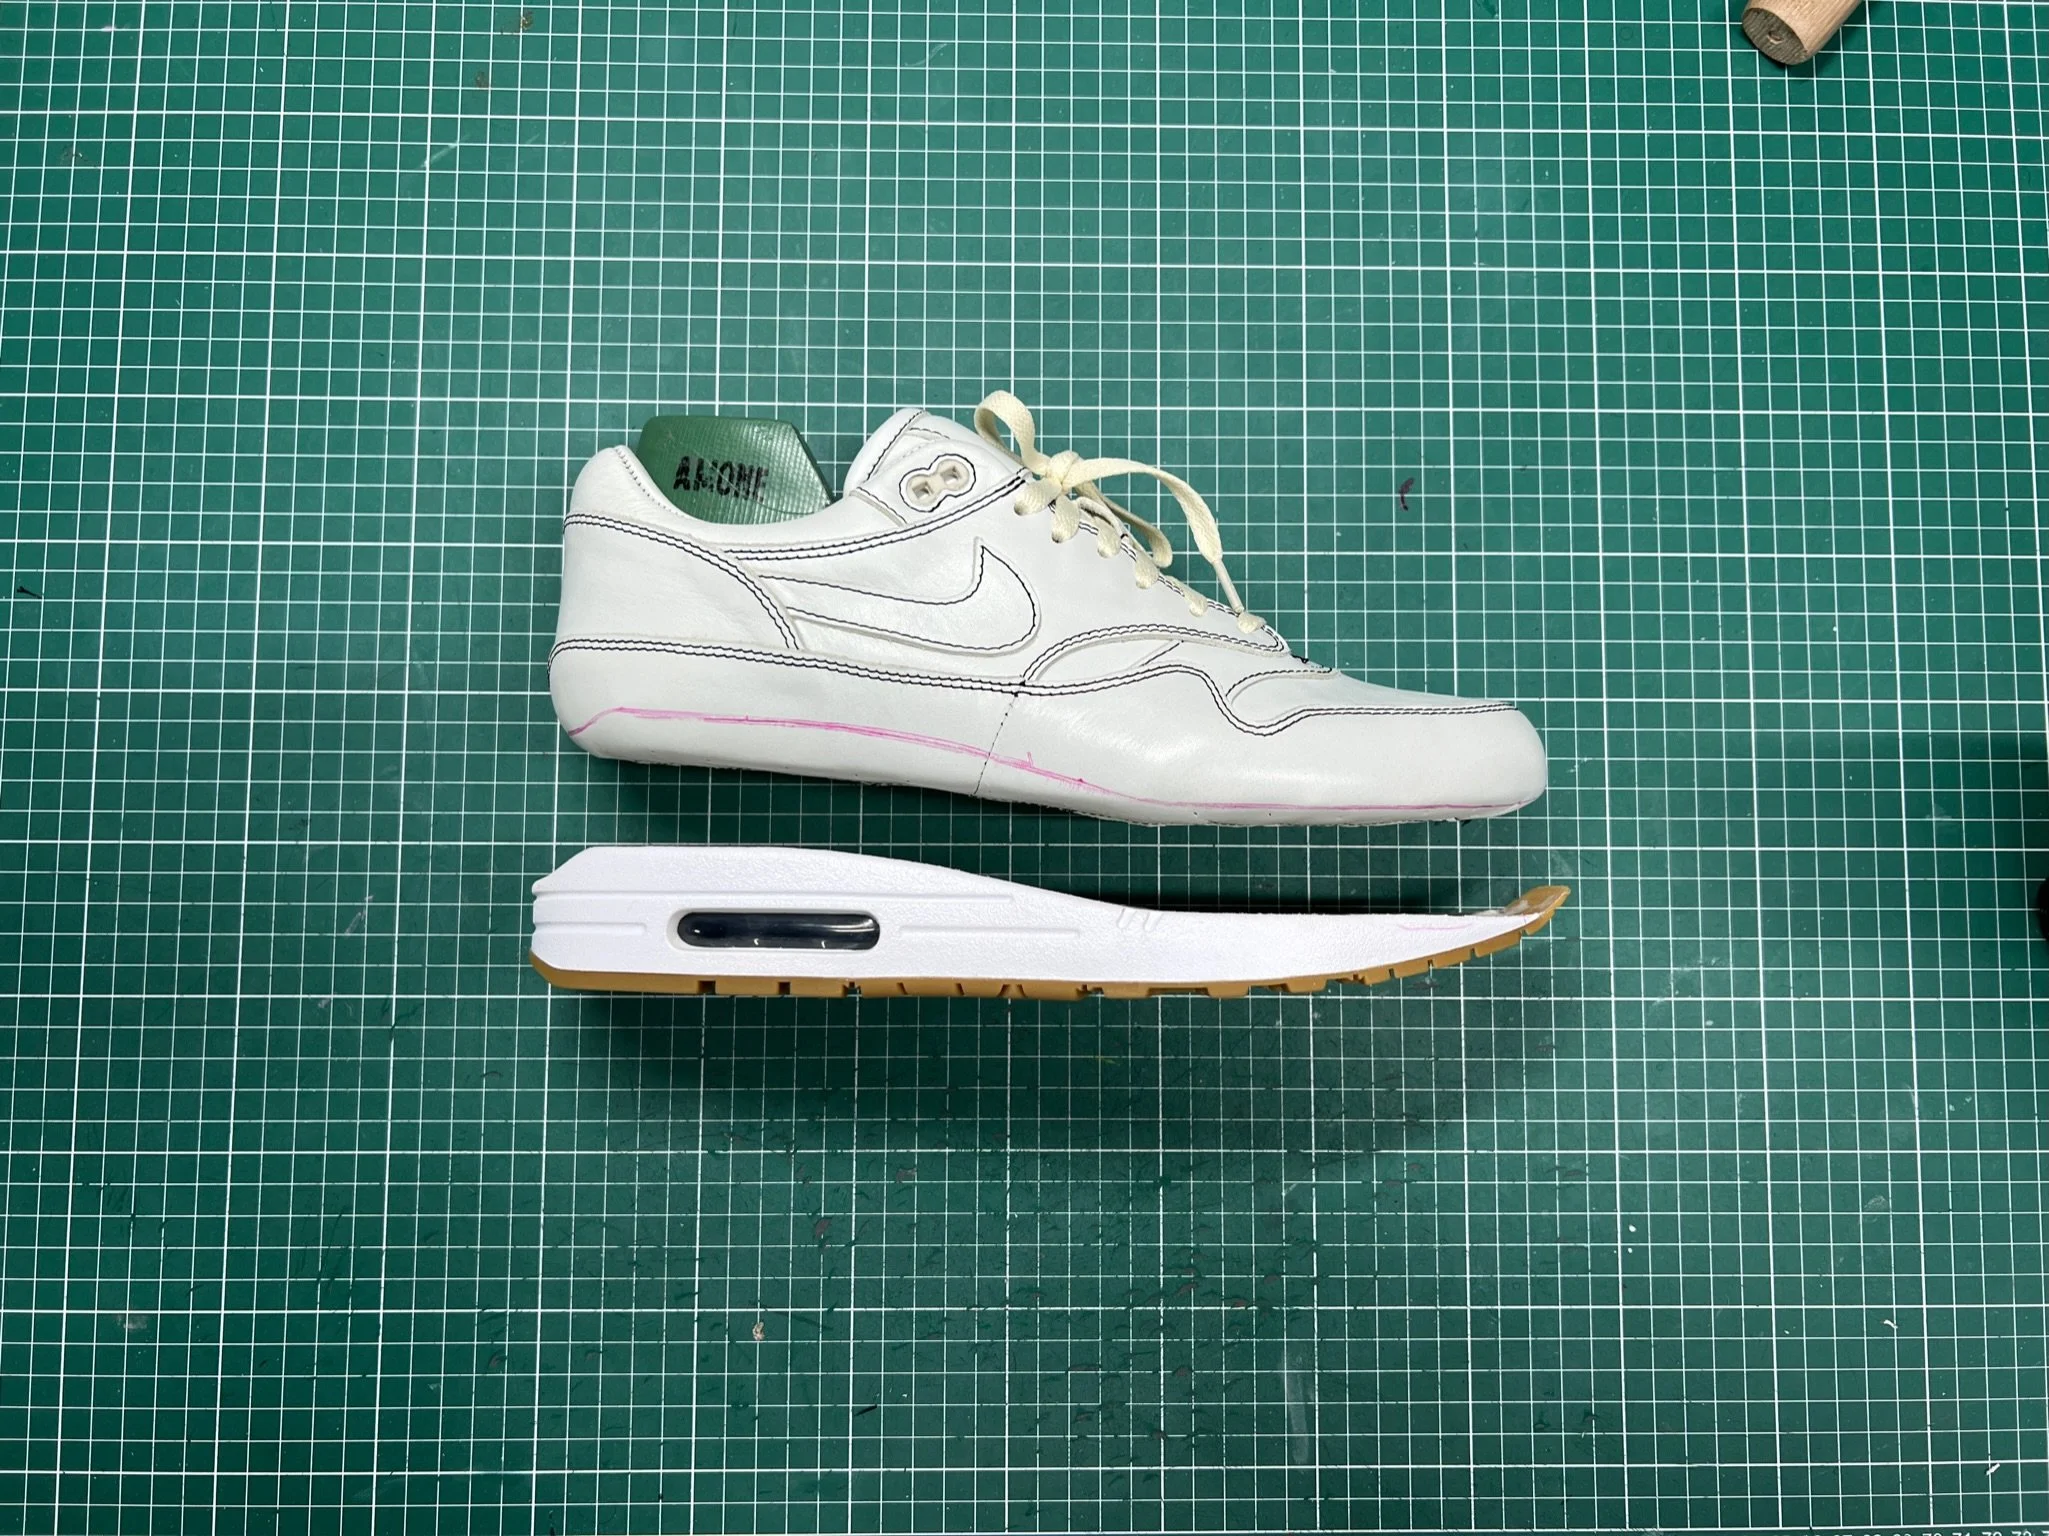
13. Compare Shoes During Lasting:
Compare both shoes frequently during the lasting process and don’t rush. Ensure they are equal by adjusting the material tension or laces if necessary.
14. Let the Dremel Work Naturally:
During sanding, let the Dremel do the work and avoid using force. Excessive pressure can cause dimples and may damage the shoe's air bubble.

15. Let Shoes Set in the Last:
Ideally, leave the shoe in the last for 48 hours. This allows the leather to shape correctly and the glue to evaporate properly.
We hope these tips help you on your journey to crafting beautiful, custom sneakers. If you're eager to learn more, we’ve got you covered. Our comprehensive course manuals provide detailed instructions on the entire shoemaking process, from start to finish. These guides are packed with expert knowledge and step-by-step tutorials that will elevate your skills and confidence. Visit our webshop to get started today!